Step 1:
Look at the skin over the PORT. See troubleshooting #1 if the site is red or swollen, do not proceed.
Step 1B:
If using EMLA cream, apply on the skin over the PORT and cover with plastic wrap and tape or a large Band-Aid 30 to 60 minutes before you are ready to infuse.
Step 1C:
Clean your work space (tray) with soap and allow drying. Cover with a clean towel or waterproof pad.
Step 1D:
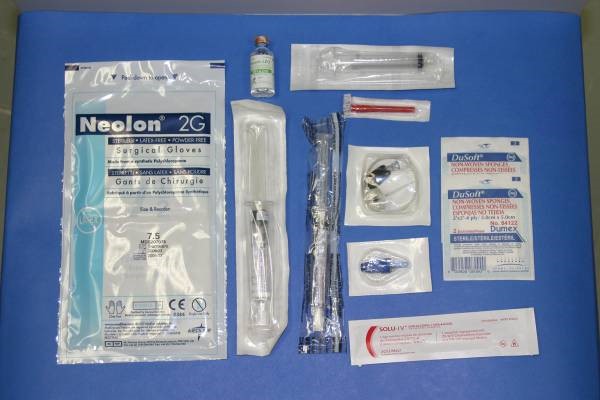
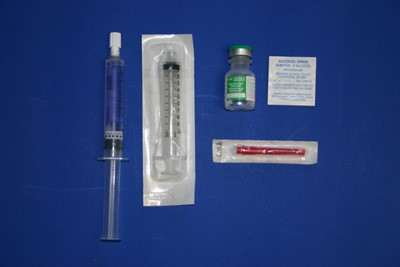
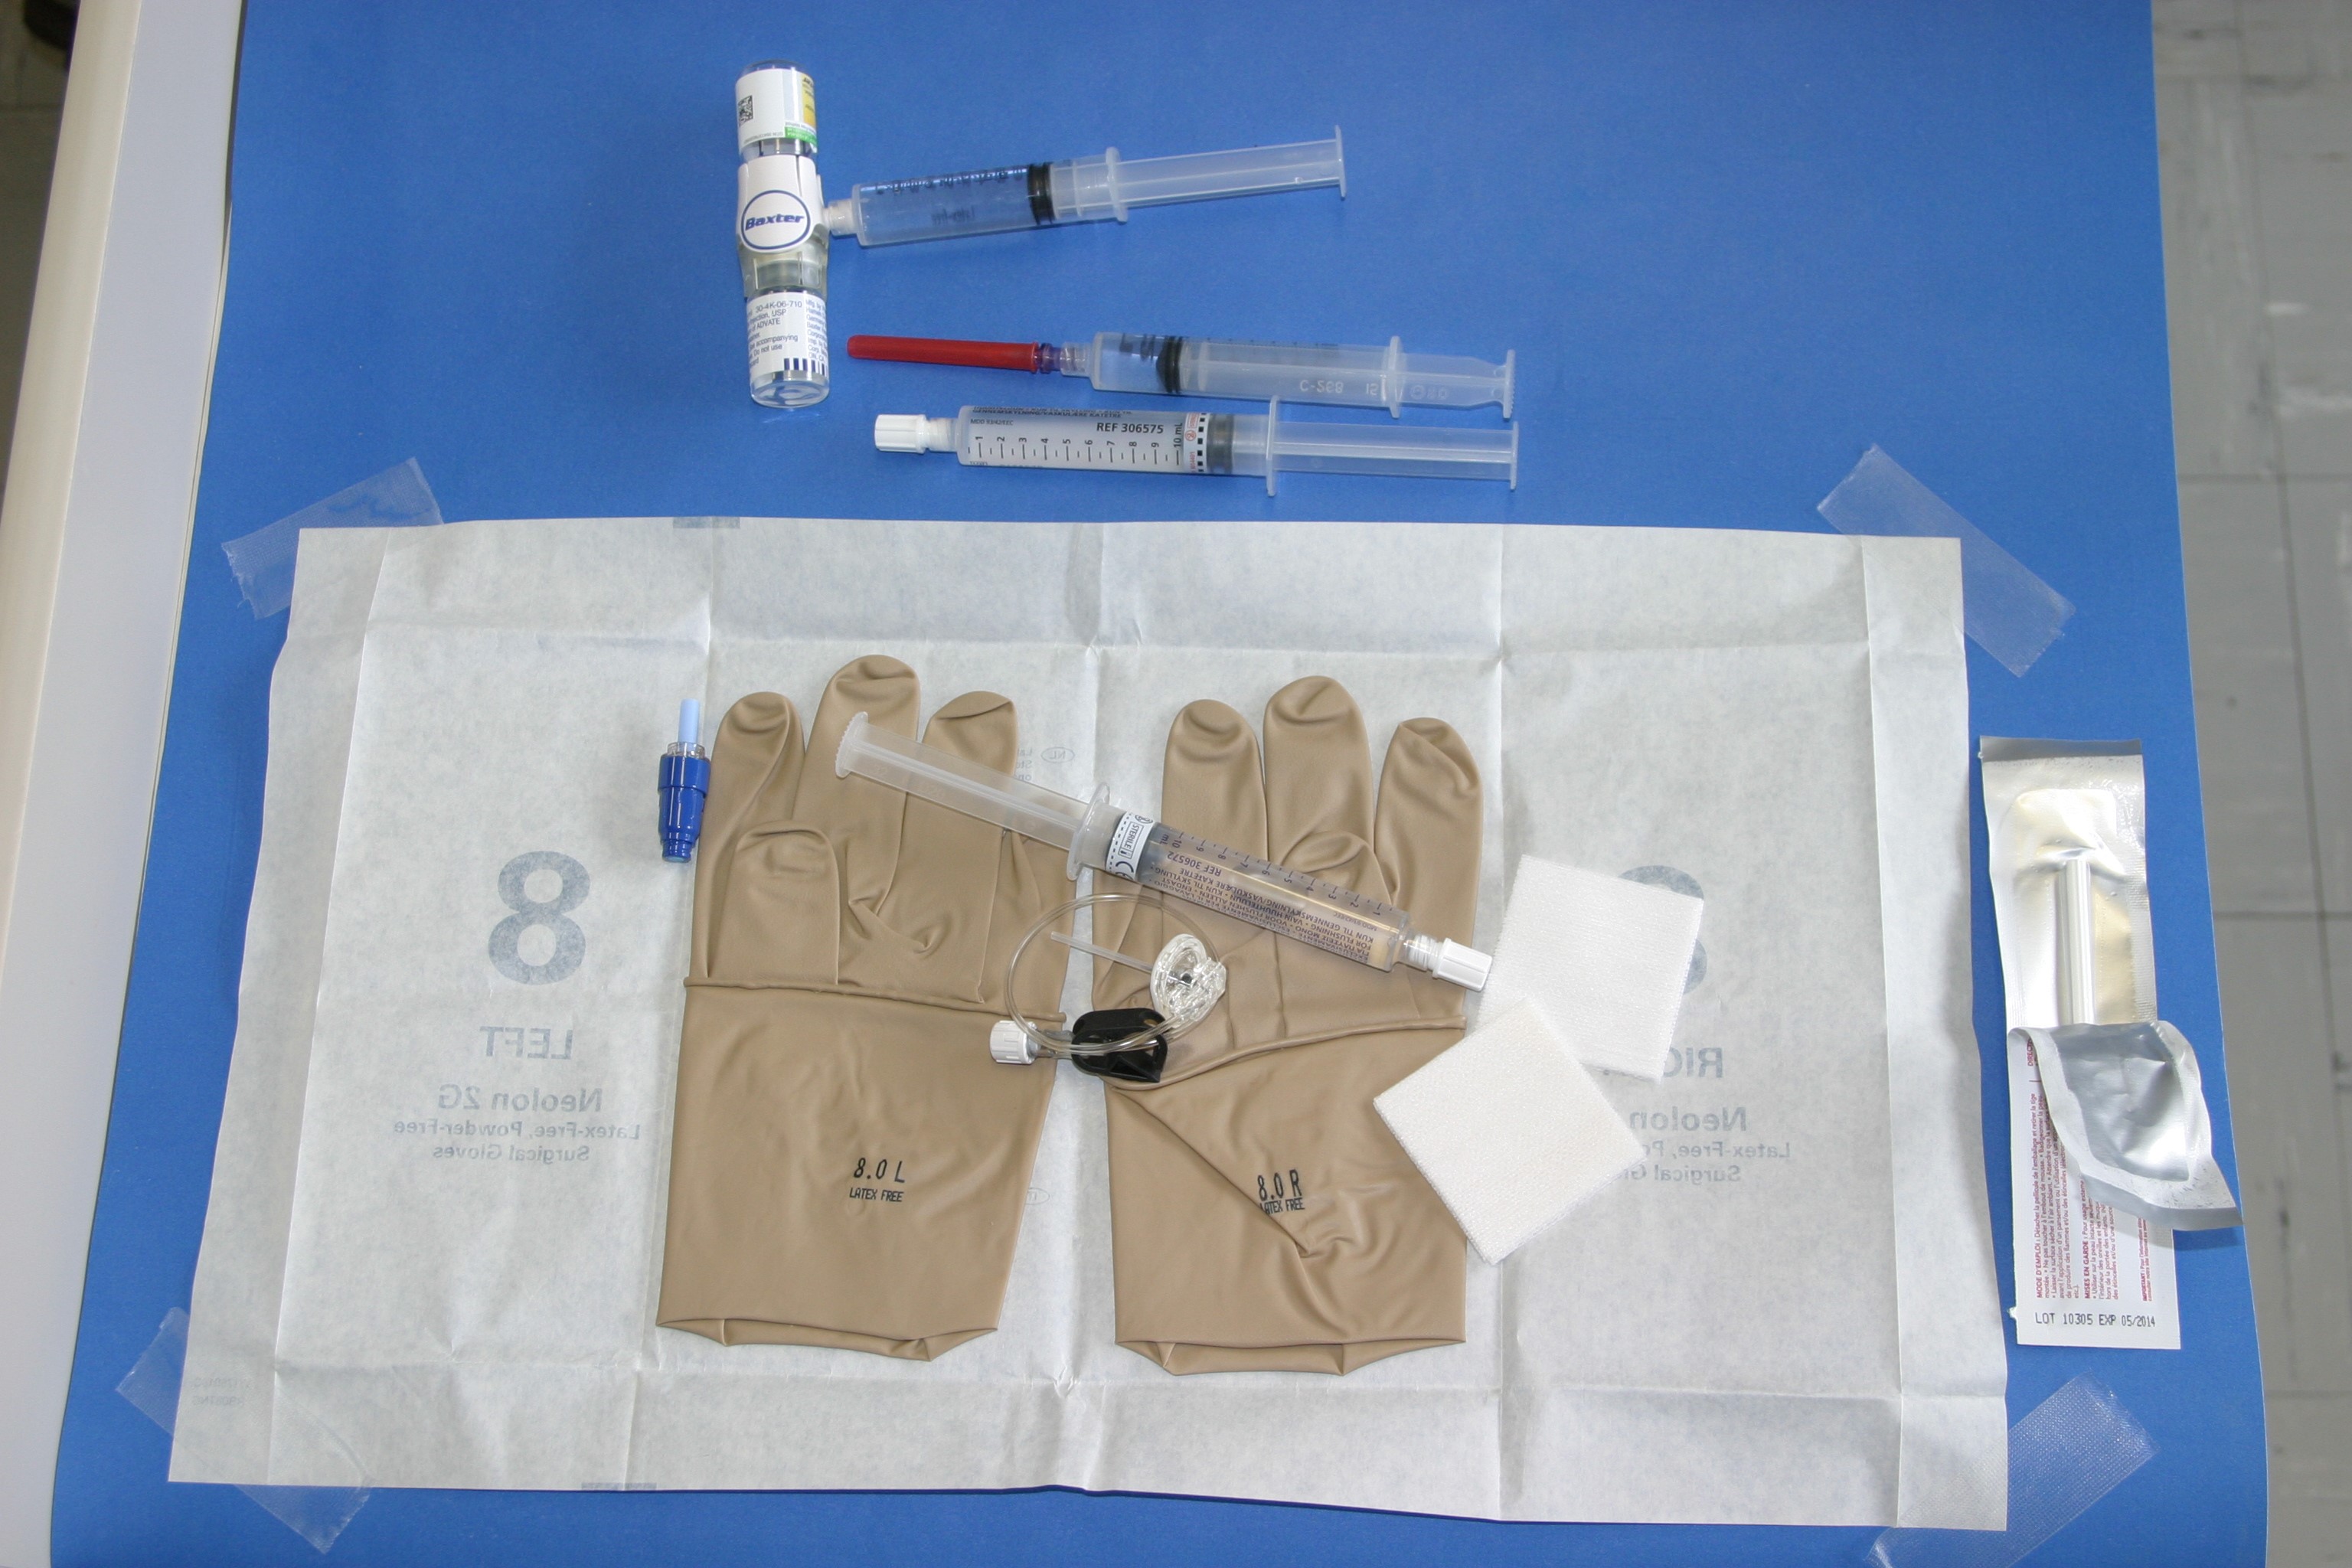
Gather supplies.
- Antibacterial soap in pump dispenser and paper towels
- One (1) Chlorhexadine 2%/Alcohol 70% swab-stick
- Sterile #22 Safe Step Huber Needle (0.5 or 0.75”)
- MicroClave® Clear connector
- One (1) pre loaded syringe containing 10 ml Saline SP non-sterile
- One (1) pre loaded syringe containing 10 ml Saline XP sterile
- One (1) 10 cc Luer Lock syringe
- One (1) Heparin-lock flush (100 units/ml)
- One (1) Blunt Fill Needle
- One (1) alcohol swab
- One (1) pair sterile gloves
- Two (2) 5 cm x 5 cm sterile gauze
- Band-Aid
- Sharps container
- Trash container
- Syringe containing factor solution
- Diphenhydramine (Benadryl)
- Infusion Record (Paper or Electronic Device)
Step 2:
Wash hands, under nails, and forearms for one minute using antibacterial soap from pump dispenser. Dry hands with paper towel and turn off the tap with that paper towel.
Step 3:
Use the clean technique to prepare one syringe of heparin-lock solution. Swab the bottle of heparin lock flush with an alcohol swab. Allow to air dry completely.
Step 4:
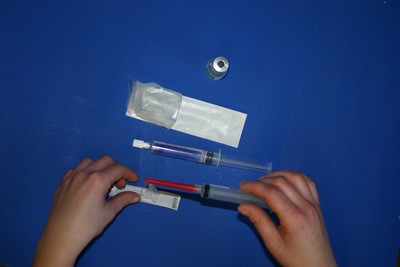
Attach Blunt Fill Needle to 10 cc syringe. First, open the package of the syringe, keeping the syringe tip in the package. Remove syringe from package and attach the Blunt Fill Needle.
Step 5:
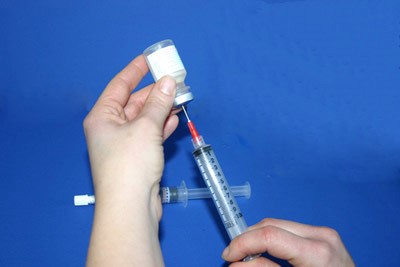
Draw up 3.5 ml of air into the Blunt Fill Needle, take off the protective cover of the needle and insert it into the center of the bottle of heparin lock flush and inject the air. With the syringe plunger fully pushed in, turn the bottle and syringe upside down and pull back on the plunger to withdraw 3.5 ml. Recap the Blunt Fill Needle. Holding the syringe pointing up, tap on syringe to move the air bubbles to the top and then gently push on the plunger to remove the air to the 3 ml line.
Step 6:
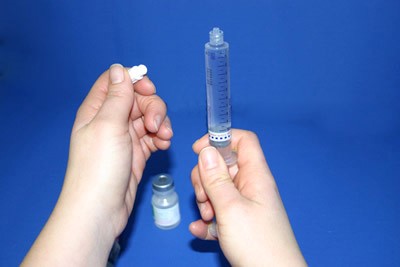
Remove cap from pre-loaded syringe containing 10 cc saline. Holding the syringe pointing up, tap on the syringe to move the air bubbles to the top and gently push on the plunger to remove the air. Replace cap by twisting in a clockwise direction.
Step 7:

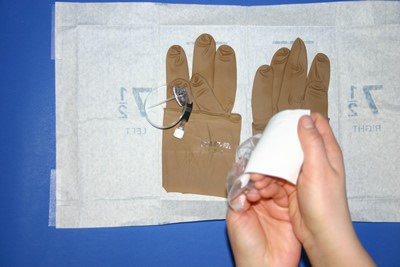
Prepare a large, clean, dry area for opening the package of gloves. Open the inner glove wrapper, exposing the cuffed gloves with the palms up. Open the sterile glove package using the edges of the wrapper ensuring nothing touches the gloves or the glove wrapper.
Step 8:
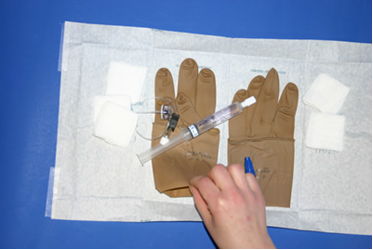
Open the packages of the following supplies and allow them to fall within the sterile field. Make sure that the supplies do not touch your hands or any other surface: (1) pre-loaded syringe containing 10 ml Saline XP sterile, (1) Sterile #22 Safe Step Huber Needle, (1) MicroClave® Clear and (2) 5x5 sterile gauze.
Step 9:
Peel open Chlorhexadine 2%/Alcohol 70% swabstick and place beside sterile field.
Step 10:
Pick up the first glove by the cuff, touching only the inside portion of the cuff (the inside is the side that will be touching your skin when the glove is on). While holding the cuff in one hand, slip your other hand into the glove. (Pointing the fingers of the glove toward the floor will keep the fingers open.) Be careful not to touch anything, and hold the gloves above your waist level.
Note: If the first glove is not fitted correctly, wait to make any adjustment until the second glove is on. Then use the sterile fingers of one glove to adjust the sterile portion of the other glove.
Step 11:
Pick up the second glove by sliding the fingers of the gloved hand under the cuff of the second glove. Be careful not to contaminate the gloved hand with the ungloved hand as the second glove is being put on. Put the second glove on the ungloved hand by maintaining a steady pull through the cuff. Adjust the glove fingers until the gloves fit comfortably.
Step 12:
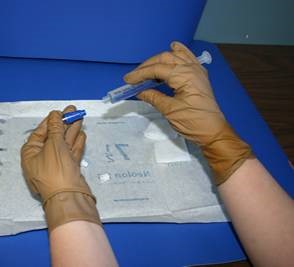
Remove the protective covers from the ends of the Sterile #22 Safe Step Huber Needle and Flolink valve. Screw the MicroClave® Clear connector onto the end of the tubing. Attach the pre-loaded syringe containing 10 ml Saline XP sterile Saline by pushing in to the MicroClave® Clear connector and twisting away. Push on the plunger to flush the saline into the tubing, removing all the air. See troubleshooting #2 for problems flushing the tubing.
Step 13:
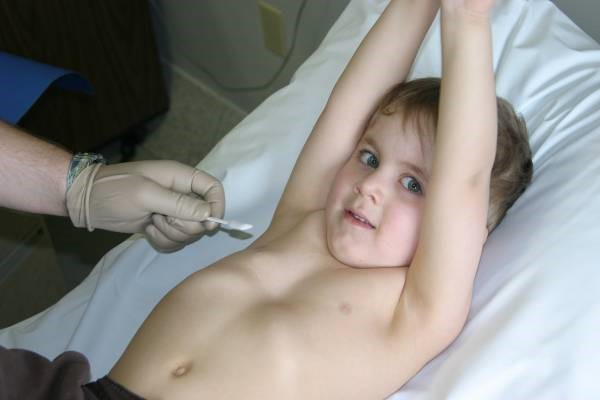
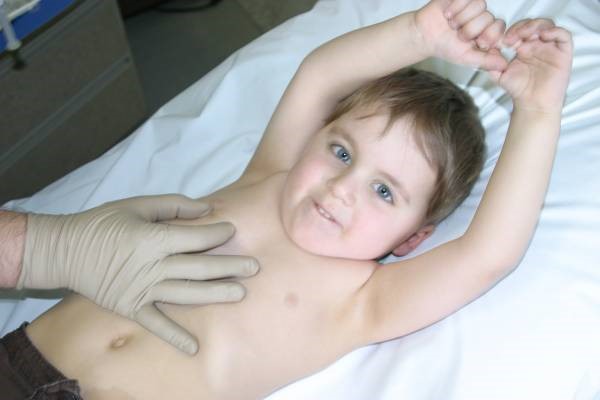
Position your child so that the dome of the PORT may be easily felt.
Step 14:
Clean skin over and around the PORT using a Chlorhexadine 2%/Alcohol 70% swabstick. Cleanse using a top to bottom motion from right to left. Turn swab stick over and cleanse using a side to side motion from right to left. Allow to dry for a least one minute.
Step 15:
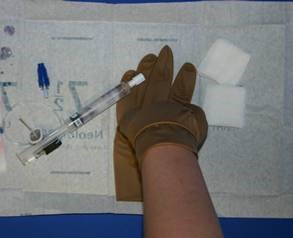
With your dominant hand securely hold onto the Safe Step Huber Needle between your thumb and index finger. Remove the protective cover from the needle.
With your non-dominant hand, locate the port septum and triangulate port between your thumb and the first two fingers.
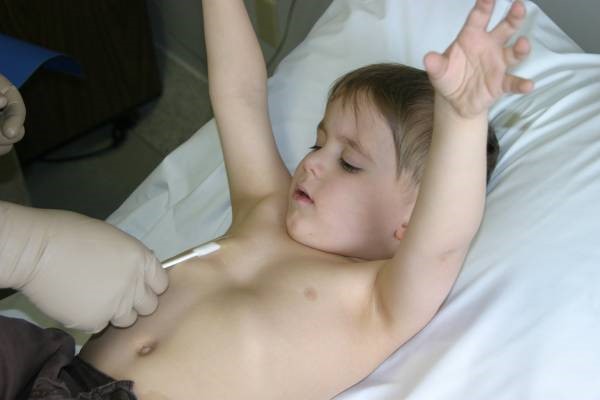
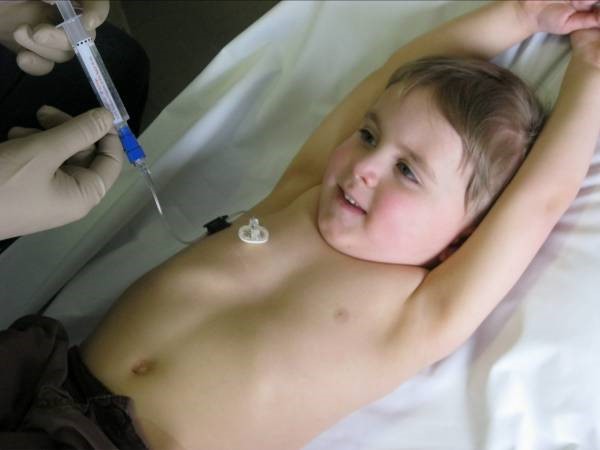
Step 16:
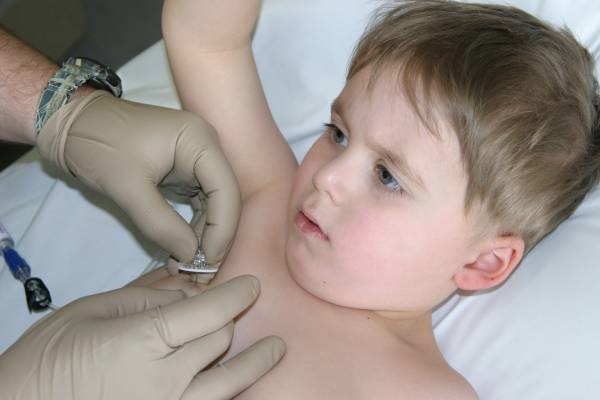
Insert Safe Step Huber Needle in at a 90 degree angle firmly through the skin and into the septum (middle) of the PORT until the needle touches the back of the device. See troubleshooting #3 if you are having problems inserting the needle. Change injection spots frequently to allow the skin to heal.
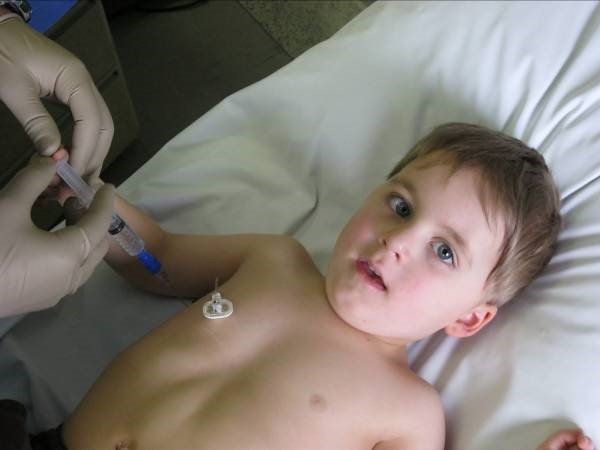
Step 17:
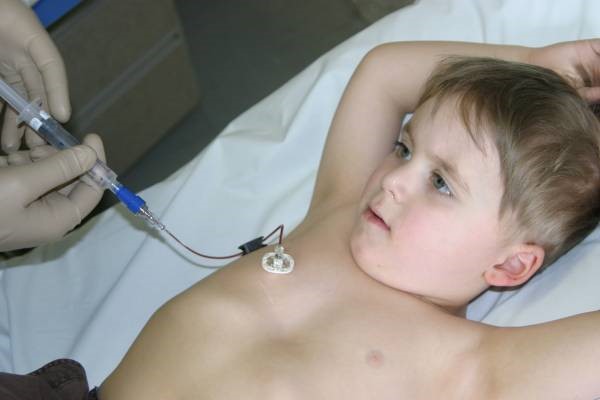
Pull back gently on the syringe, just until blood is seen to verify needle placement in the tubing. Using a push/stop motion inject the saline. See troubleshooting #4 if there is no blood return.
Step 18:
Remove the saline syringe, keep the MicroClave® Clear connector in your non-dominant hand, and attach the syringe containing the factor solution. SLOWLY infuse the factor solution, 2 ml per minute.
Step 19:
Remove the factor solution syringe and attach the pre-loaded syringe containing 10 ml Saline SP non-sterile). Inject slowly.
Step 20:
Remove the empty saline syringe and attach the syringe of heparin-lock flush. Flush with heparin using a steady push. Remove syringe.
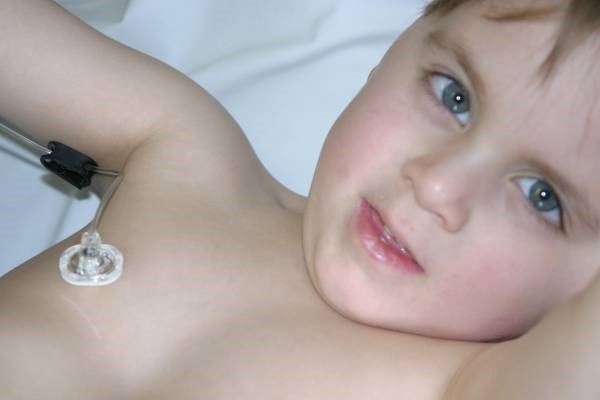
Step 21:
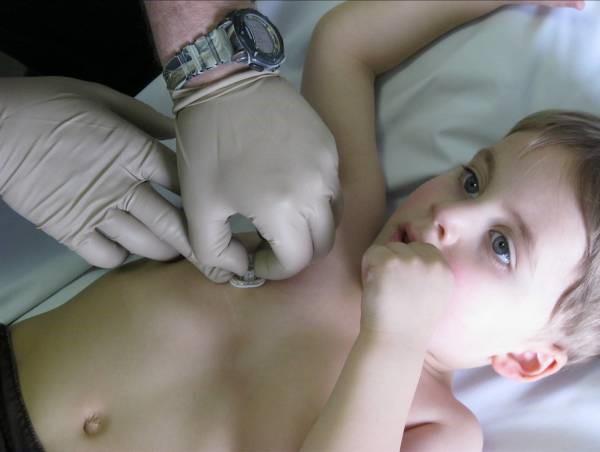
Stabilize port by securely holding down base (disc) of Safe Step Huber Needle with index and middle fingers. Firmly pull the textured handle up until click is felt of heard.
Step 22:
Apply gentle pressure to the needle site with the remaining dry gauze for a full three minutes.
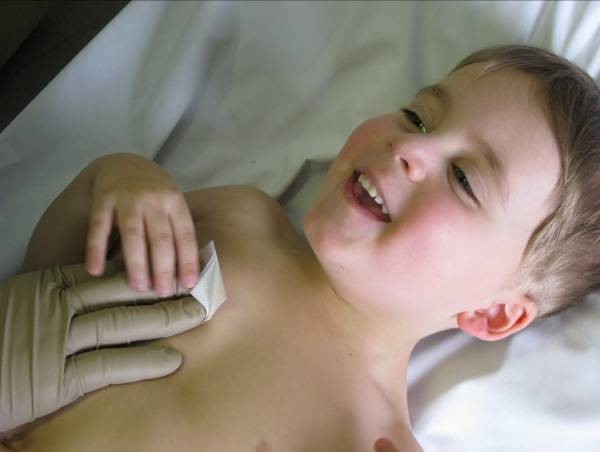
Step 23:
Cover the site with a bandage.
Step 24:
Place the Safe Step Huber Needle in the sharps container and all bottles and syringes into the garbage.
Step 25:
Observe for signs of allergic reaction and complete the Infusion Diary.