|
|
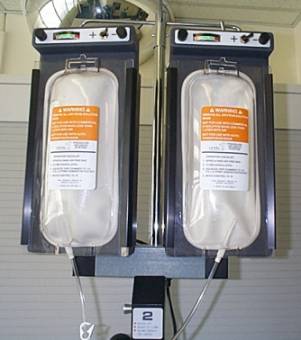
- The bag(s) is(are) spiked and hung in each of the pressure infusers.
- One bag can be placed in the infuser and operating while the next bag is prepared for the other pressure infuser.
- Make sure all connections are tight!
- To pressurize the infuser turn toggle switch to + and it will pressurize to 300 mmHg. Pressurization is not required.
- Depressurize when changing a bag.
|
|
|
|
-
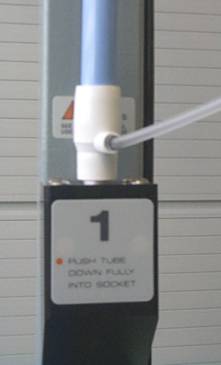
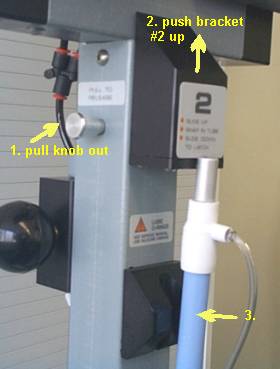
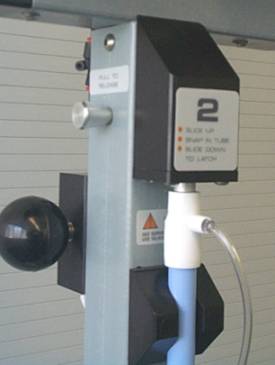
The top of the long capillary tube (heat exchanger) is inserted into holder #2.
-
The silver knob on the left must be pulled out which allows holder #2 to be moved upwards.
-
Align the top of the capillary tube with the hole and push holder #2 down locking it in place.
|
- Capillary tube (heat exchanger) locked into place at the top with holder #2.
|
|
|
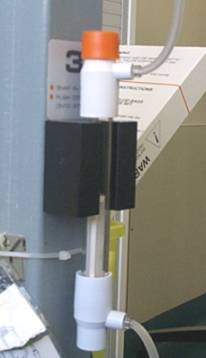
- The small bubble trap (filter w/gas vent) is snapped firmly into place on the lower clamp.
|